
What fixings are suitable for plasterboard, concrete, or stud walls?
Posted on: 03/06/2025
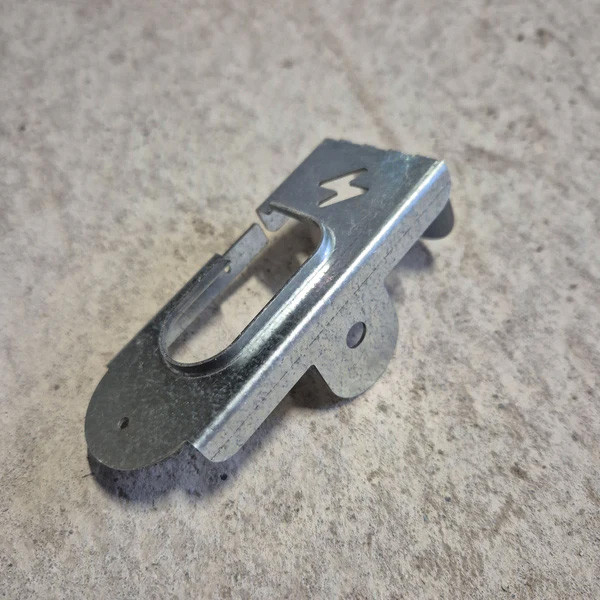
When it comes to mounting cable brackets or clips, the first thing you need to ask yourself is: what kind of wall are you fixing into?
Whether it’s plasterboard, concrete, or a stud wall, the type of fixing you use can make or break your installation, literally.
Each surface requires a different approach if you want your cables to stay secure and out of harm’s way.
Whether it’s plasterboard, concrete, or a stud wall, the type of fixing you use can make or break your installation, literally.
Each surface requires a different approach if you want your cables to stay secure and out of harm’s way.

Understanding the Surface First
Let’s break it down by surface type, so you know exactly what you’re dealing with:
Plasterboard Walls
Plasterboard is lightweight and relatively easy to work with, but it’s not known for its load-bearing capabilities. Using the wrong fixing here can result in your cable brackets pulling loose over time.
Best fixings:
Spring toggles or snap toggles: Ideal for heavier loads like trunking or grouped cables.
Self-drill plasterboard anchors: Good for lighter clips or brackets.
Tip: Avoid screwing directly into plasterboard without a proper fixing, it’ll tear faster than a receipt in a rainstorm.
Concrete Walls
If you’re fixing into concrete, you're working with one of the strongest surfaces around. But strength doesn’t mean it’s easy.
Best fixings:
Plastic wall plugs with masonry screws
Concrete bolts or anchor bolts for heavier duty installations
Use a hammer drill with a masonry bit, and don’t forget your dust mask unless you enjoy inhaling 40-year-old concrete particles.
Stud Walls
Stud walls, usually timber-framed, are a hybrid challenge. There’s the solid bit (the stud), and then there’s the void in between.
Best fixings:
Direct screw fixings into the wooden stud, this is your strongest hold.
Cavity wall fixings (like toggles or anchors) for the spaces in between.
Pro tip: Use a stud finder before drilling. Guessing where the stud is only works if you also enjoy lottery scratchcards as a business strategy.
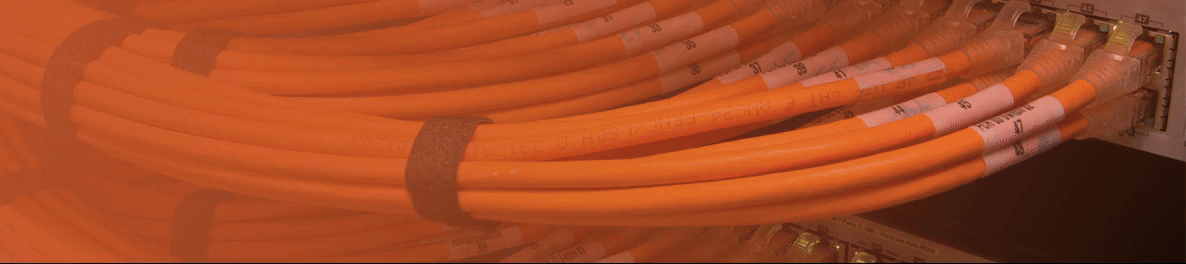
Bracket Spacing and Cable Routing Tips
No matter the surface, poor spacing or sloppy routing can undo even the best fixings. Here’s how to stay on top of it:
Space brackets evenly, typically every 300-400mm for horizontal runs, and 500-600mm for vertical
Use clips or mini trunking in tight spaces to guide the cable safely
For ceiling voids, consider metal cable trays or suspended brackets to prevent sagging
When routing cables in wall cavities, avoid overloading the space. Bundling too many together can cause overheating and makes future maintenance a real chore.

FAQs
What are the safest fixings for heavy-duty cable brackets in plasterboard walls?
Spring toggles or snap toggles are your best bet. They expand behind the plasterboard, offering solid grip.
Can I screw directly into a stud wall without an anchor?
Yes, if you're hitting the timber stud directly. It offers excellent holding power compared to cavity areas.
What kind of drill bit do I need for concrete fixings?
A masonry drill bit with a hammer drill is ideal for drilling into concrete safely and efficiently.
How far apart should I space my cable brackets?
Every 300-400mm for horizontal runs and 500-600mm for vertical. Adjust based on cable weight and layout.
Is it safe to route cables through ceiling voids without fixings?
Not recommended. Use suspended brackets, cable trays, or ties to support the weight and maintain neat routing.

Wrapping It Up
Choosing the right fixing is just as important as picking the right cable. Whether you’re working with plasterboard, concrete, or a stud wall, knowing how to secure cables properly keeps everything safe, tidy, and regulation compliant.
After all, the last thing you want is a cable bracket slipping loose and turning your install into a spaghetti junction.
Related Products