
How do I properly connect and use a patch cord adapter with my Fluke tester?
Posted on: 15/04/2025
Of course, there's a bit more to it than plugging in a cable and pressing "Test." Let's dive into the details.

If you work with structured cabling, you’ll know that a patch cord can make or break network performance. A faulty or low-quality cord can cause intermittent issues that waste time and money. That’s why using a patch cord adapter with your Fluke Networks tester is so important — it lets you test cables properly and confirm they meet the standards your project requires.
In this guide, we’ll walk through:
-
What a patch cord adapter is and why you need one
-
How to connect it correctly to your Fluke tester
-
Common mistakes to avoid
-
FAQs to help you troubleshoot
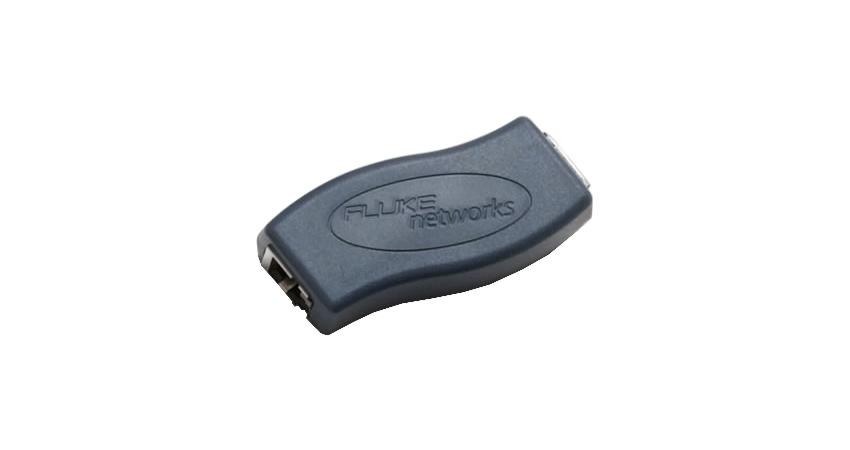
What Is a Patch Cord Adapter and Why Do You Need One?
A patch cord adapter is designed to test patch cords accurately against industry standards. Instead of assuming your Ethernet cables are fine just because they look good, a patch cord test ensures they actually perform as they should.
Fluke Networks testers — such as the DSX Series — support different adapter types, including RJ45, GG45, and TERA. Using the correct adapter helps you identify poor terminations, damaged conductors, or low-grade materials before they cause problems on site.
Step-by-Step: Connecting Your Patch Cord Adapter
-
Choose the Right Adapter
Fluke offers specific adapters for Cat5e, Cat6, Cat6A, and higher categories. Always match the adapter to the cable type you’re testing. -
Attach the Adapter Securely
Line up the adapter with the tester’s interface and connect it firmly. A loose connection can easily cause false failures. -
Insert the Patch Cord
Make sure the patch cord is fully seated inside the adapter to avoid incomplete results. -
Select the Correct Test Mode
On your Fluke tester, choose Patch Cord Test Mode — not Permanent Link or Channel Test. This ensures the right parameters are measured. -
Run the Test and Review Results
If a cord fails, check for common issues such as poor crimping, broken conductors, or low-quality shielding.
Common Mistakes to Avoid
-
Using low-cost patch cords – Cheaper cables often fail due to poor shielding and high attenuation.
-
Ignoring connector cleanliness – Dust or debris on connectors can cause misleading failures.
-
Skipping firmware updates – Always keep your Fluke tester software up to date for the most reliable results.


FAQs
Can I use any patch cord with a Fluke tester?
Not all patch cords are equal. Always use high-quality, certified cords that meet or exceed the category rating of your network.
Why do my patch cords keep failing?
Failures often come from poor termination, damaged connectors, or using low-grade cables. Also check the adapter and connectors are clean and properly seated.
How often should I calibrate my Fluke tester?
Fluke recommends an annual calibration. Heavy users should consider more frequent checks.
Can one adapter test both shielded and unshielded cords?
Some can, but always check the adapter’s specifications to be sure.
Do I need to test every single patch cord?
It’s not always practical, but testing at least a sample batch helps guarantee reliability and avoid future faults.

Final Thoughts
Testing patch cords with a Fluke Networks tester isn’t complicated, but it does require care and attention to detail. By using the correct adapter, securing connections properly, and avoiding common mistakes, you’ll get accurate results every time.
That way, you can spend less time troubleshooting and more time delivering reliable, high-performing networks.
👉 Need genuine Fluke patch cord adapters or advice on the right solution? Contact our team at CMW — we’ll help you find the right tools for the job.