
How Do I Choose the Right OTDR Settings for Accurate Testing?
Posted on: 09/04/2025
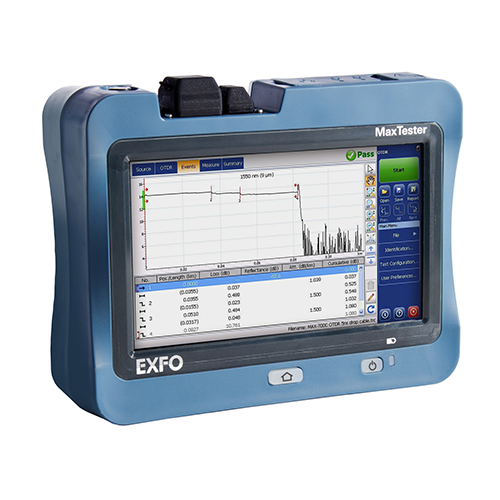
When testing fibre optic cables, the accuracy of your Optical Time Domain Reflectometer (OTDR) results depends on using the correct settings. Get them wrong, and you could end up with ghost reflections, misidentified faults, or an unclear trace. The key settings to focus on include range, pulse width, wavelength, averaging time, and index of refraction. Mastering these will help you get the most precise and reliable results every time.

Key OTDR Settings and How to Use Them
Range: Know Your Fibre Length
The range setting tells the OTDR how far to scan. If set too short, you might miss the end of the fibre; too long, and your trace will be cluttered. A good rule of thumb is to set it 20–30% longer than the expected cable length.
Pulse Width: Balancing Resolution and Distance
Pulse width determines how much light the OTDR sends into the fibre. A shorter pulse gives a higher resolution for close events, but a longer pulse is needed to reach further down the fibre. If testing a long-haul cable, use a higher pulse width to get a strong enough return signal.
Wavelength: Match It to Your Fibre Type
Most OTDRs offer 1310 nm and 1550 nm wavelengths. Use 1310 nm for shorter distances and splice loss detection, while 1550 nm is better for longer distances and bend detection. If unsure, test both to compare results.
Averaging Time: Trade-Off Between Speed and Accuracy
Longer averaging times reduce noise and improve accuracy but also slow down the test. A short average time can work if you're in a rush, but give it 30–60 seconds for detailed analysis.
Index of Refraction (IOR): The Silent Accuracy Killer
IOR affects distance accuracy in your OTDR trace. Using the wrong value can throw off your measurements. Check your fibre manufacturer's datasheet for the correct IOR setting.
What Launch and Receive Cables Should I Use with My OTDR?
To get accurate results, always use both a launch and receive cable. These help eliminate the OTDR's dead zone and ensure you can see the first and last connectors. Choose cables with low loss and connectors that match your fibre type.

FAQs
Why do I need a launch cable for OTDR testing?
A launch cable allows the OTDR to accurately measure the first connection point, avoiding the "dead zone" effect.
What happens if my pulse width is too high?
If the pulse width is too high, you might lose detail on close events, making it harder to pinpoint faults.
Can I use any fibre type for OTDR testing?
To get the most accurate results, always match your OTDR settings to the fibre type (single-mode or multimode).
How do I know if my OTDR trace is accurate?
Compare your results with expected loss values, check for excessive noise, and ensure the IOR setting is correct.
What's the best OTDR setting for short cables?
Use a short pulse width and lower range to improve resolution and avoid unnecessary reflections.

Choosing the proper OTDR settings isn't rocket science, but it does require some fine-tuning. You can avoid common pitfalls and get accurate fibre testing results by understanding key parameters like range, pulse width, and wavelength. And remember, when in doubt, test at multiple settings and compare!
Want expert advice on OTDR testing and the right launch cables for your setup? Contact CMW today.
Want expert advice on OTDR testing and the right launch cables for your setup? Contact CMW today.
Related Products