
How do you prepare fibre optic cables for fusion splicing?
Posted on: 17/02/2025
Fusion splicing joins two optical fibres end-to-end using heat, creating a seamless connection for minimal signal loss.
owever, proper cable preparation is essential before firing up your fusion splicer. A poorly prepared fibre can lead to weak splices, high attenuation, or complete failure.
So, how do you get it right?
These steps ensure a clean, strong, and reliable fusion splice.
owever, proper cable preparation is essential before firing up your fusion splicer. A poorly prepared fibre can lead to weak splices, high attenuation, or complete failure.
So, how do you get it right?
These steps ensure a clean, strong, and reliable fusion splice.

Step 1: Strip the Fibre
Remove the cable jacket and buffer coatings to expose the bare glass core. This requires precision, as over-stripping or dull tools can damage the fibre. Pro tip: Use a high-quality fibre stripping tool to avoid unnecessary nicks or breaks.
Step 2: Clean the Fibre
Once stripped, clean the bare fibre with 99% isopropyl alcohol and lint-free wipes. Dust, dirt, or oil can affect the quality of the splice. Think of it like surgery: Would you want a doctor operating with dirty tools?
Step 3: Cleave the Fibre
Cleave the fibre using a precision cleaver to ensure a perfectly flat end face. A poor cleave can lead to misalignment, higher splice loss, and increased reflection. If you get an angled or chipped cleave, redo it. There are no shortcuts here.

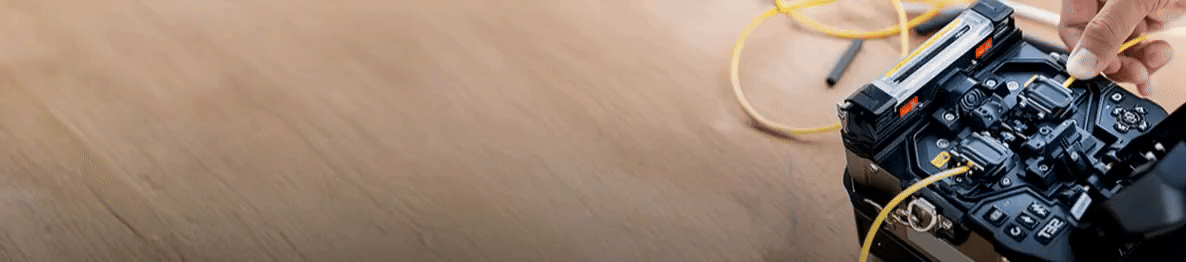
Step 4: Align and Splice
Place the prepared fibres into the fusion splicer. The machine automatically aligns them and fuses them using an electric arc. A suitable splicer ensures low insertion loss and high tensile strength. Bonus tip: Always check the estimated splice loss before finalising.
Step 5: Protect the Splice
Once spliced, the joint is fragile and needs protection. To reinforce it, use a heat shrink sleeve or mechanical splice protector. Then, place the protected splice in a splice tray for organisation and strain relief.
Common Mistakes to Avoid
Skipping the cleaning step: Even the tiniest dust particle can ruin a splice.
Using a dull cleaver results in poor splices and higher signal loss.
Not following splicer maintenance: Dirty electrodes = bad splices.

FAQs
What is fusion splicing used for?
Fusion splicing permanently joins two optical fibres, creating a seamless, low-loss connection for data and voice networks.
How do I know if my cleave is good?
A good cleave has a smooth, flat end with no chips, cracks, or angles. If your splicer reports a high estimated loss, the cleave may need redoing.
Can I splice fibre without a fusion splicer?
Technically yes, mechanical splicing is an alternative. However, fusion splicing offers lower loss and higher durability, making it the preferred method.
Why is my fusion splice weak?
A weak splice can result from dirty fibres, poor cleaving, or misalignment. Always clean thoroughly, use a sharp cleaver, and maintain your splicer regularly.
How long does a fusion splice last?
With proper installation and protection, a fusion splice can last decades. However, environmental factors and mechanical stress can impact longevity.

Final Thoughts
Proper preparation is the key to successful fusion splicing. You ensure strong, low-loss connections by stripping, cleaning, cleaving, and protecting fibres correctly. Getting it right the first time saves time, money, and frustration in the long run.
Related Products