
How do you properly install a wire mesh basket or cable trays?
Posted on: 25/04/2025
Regarding cable management, correctly installing a wire mesh basket tray or cable tray is crucial for safety and efficiency.
The short answer is that you need to measure up, choose the right tray type, install strong fixings, and follow cable capacity guidelines.
Sound simple? With the right tools and know-how, it can be.
Let's break it down.
The short answer is that you need to measure up, choose the right tray type, install strong fixings, and follow cable capacity guidelines.
Sound simple? With the right tools and know-how, it can be.
Let's break it down.

First Things First: Know What You're Installing
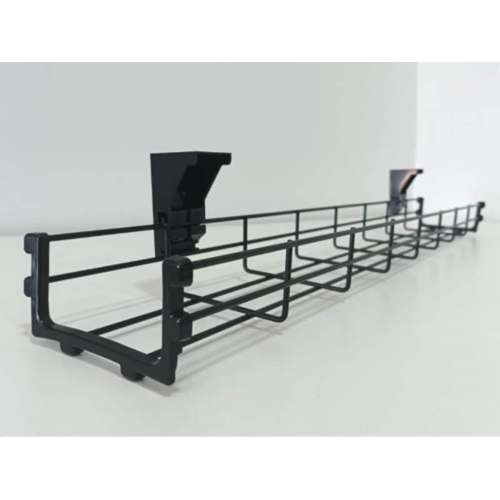
Wire mesh basket trays are ideal for lighter-duty installations. They offer flexibility, airflow, and easy access, making them great for data cabling and changing layouts.
Cable trays, on the other hand, are often used for heavier or bundled cabling and can come in ladder or solid-bottom designs.
Think of wire mesh baskets as the agile runners of the cable management world, light on their feet and easy to reroute. Cable trays? They're your heavy lifters.
Tools & Materials You'll Need
Wire mesh basket tray or cable tray sections
Tray couplers or splice kits
Mounting brackets or suspension rods
Spirit level
Drill and fixings (anchors or threaded rods)
Cable ties or velcro strips
A tape measure (trusty and non-negotiable)
Step-by-Step Installation
Plan Your Route
Map out the cable path. Consider entry/exit points, cable types, and load. Don't forget potential obstacles like beams or HVAC systems.
Fix the Supports
Space your supports about every 1.5–2m (depending on the tray type and weight). For suspended trays, use threaded rods and ceiling anchors. For wall-mounted trays, use strong brackets fixed into studs or solid walls.
Secure the Tray Sections
When joining sections with couplers or splice kits, ensure they're level. Uneven trays are not just unsightly; they're a trip hazard for your cables (and your credibility).
Install the Cables
Lay cables gently, no yanking. Avoid overloading the tray and keeping power and data separate to avoid interference.
Label and Tidy Up
Use Velcro straps or cable ties to secure bundles. Labelling now will save you headaches later. Your future self will thank you.
Common Pitfalls to Avoid
Overloading the tray (watch the weight rating)
Poor support spacing—hello, sagging trays!
Ignoring local regs or fire safety guidelines
Forgetting about future capacity (it always grows)

FAQs
Do I need special fixings for different surfaces?
Yes. Use ceiling anchors for concrete, cavity fixings for plasterboard, and masonry screws for brick or block.
Can I mix power and data cables in the same tray?
You can, but it's not best practice. To avoid electromagnetic interference, use divider strips or separate trays.
What's the best way to cut wire mesh trays?
Use bolt cutters or a hacksaw. Remember to file down the sharp ends—and wear gloves!
How far apart should supports be placed?
Typically, every 1.5–2 metres, but check your tray's weight rating and load. Heavier loads require closer spacing.
Can I suspend trays from the ceiling?
Absolutely. Use threaded rods with suitable anchors. It's an excellent option for keeping cables off the floor in tight or high-traffic spaces.
Final Thoughts
Installing a wire mesh basket tray or cable tray isn't rocket science but an art.
At CMW, we supply installers, electricians, and wholesalers with the right gear and guidance to do the job right the first time.
Need help choosing the correct setup? Give our team a shout, we're happy to help (and won't even judge your dodgy measuring tape).
Related Products